3 Tips For Photographing In Changing Light
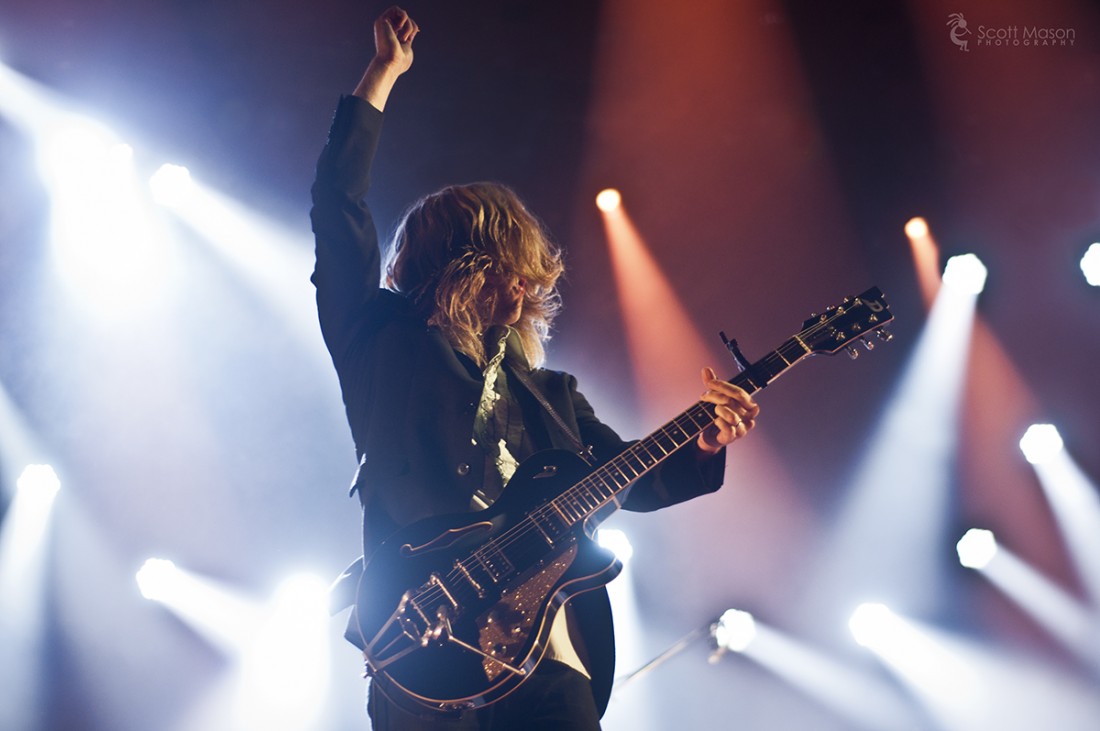
There are several types of situations where you may end up photographing in changing light. Sometimes the change can be subtle like when re-framing your image and other times light changes are more drastic like when photographing an indoor band performance with stage lights or a landscape with setting sun.
1. Priority Shooting Modes
There are two priority modes: Shutter Priority (S for Nikon, TV for Canon) and Aperture Priority(A for Nikon, Av for Canon). Each allows you to select one function (shutter or f/stop respectively), and let the camera adjust for the exposure with the other. Which one you choose mainly depends on if you are photographing a moving or still subject.
One issue with shutter priority is that it sometimes limits your exposure due to the aperture hitting a wall “I can’t open any wider!”. In this instance, you may need to lower your shutter speed or bump your ISO up higher.
Use caution with aperture priority in the dark as your camera may wind up selecting a very slow shutter for you which will pose an issue if you are photographing handheld.
2. Spot Metering
Spot Metering tells your camera that you want to only expose your subject and not the areas around it. Let’s say you are photographing a portrait on a partly cloudy day, on Aperture Priority mode. Your subject is backlit, which complicates things further. The sun is dipping out from behind the clouds intermittently, and every time it gets brighter out, your subject gets darker as the camera tries to compensate. Switch to spot metering, and make sure to take the reading off the center spot of your frame (for most cameras). This way even if the lighting around the subject changes, you will still get a properly exposed subject.
3. Bracketing Exposures
Bracketing exposures simply means taking sever exposures of the same image, each at different exposure values (brightness). Because of the changing light conditions, bracketing can help ensure that you get a variety of exposures and allow you to pick the best one later. This technique is also the first process in creating an HDR image.
In photography, each exposure value is measured in “stops”. A stop is three clicks one way or the other with your main dial. To manually bracket your exposures, you do so using either ISO (less common), aperture, – or – shutter and change the value of just one of those for each shot.
When bracketing in Manual Mode, you would refer to your light meter inside the viewfinder and take one exposure at 0, one at -1 stop and one at +1 stop. You can go even further and snap at -2, -1, 0, +1, +2 and so on. .
When bracketing in a priority mode (Aperture or Shutter) one would use the Exposure Compensation button to photograph at a -1 stop, 0, +1 stop, etc.
Most modern DSLRs come with Auto-Bracketing mode, which allows the camera to change your exposure values in a sequence for your next, 3, 5, 7 or 9 shots. This can be handy but keep in mind if the light is changing, and you’re not using spot metering on your subject, you may end up with some unwanted variance in exposure.


Expedia Austin Market Expo 2015 | Architecture & Real Estate Photography - Scott Mason / 2 December 2015 6:25
[…] 3 Tips For Photographing In Changing Light […]
Photo Shoot With A Local Lighting Designer – Kelly Francis Lighting | Architecture & Real Estate Photography - Scott Mason / 11 May 2016 7:23
[…] To learn more about photographing in challenging lighting, see our article: 3 Tips For Photographing In Changing Light. […]
Streaklight 360 – A Powerful, Portable Must-Have For Every On-Location Photographer | Architecture & Real Estate Photography - Scott Mason / 2 February 2018 10:16
[…] Three Tips For Photographing In Changing Light […]