Get A Pixel-Perfect Cutout Selection in Photoshop, Every Time
Any photographer that has cut a subject out in Photoshop knows the pain and frustration that comes with getting a perfect border selection. That’s why I’m going to share a great selection workflow with you from a well-respected Photoshop guru, Colin Smith.

Since we’re dealing with extra pixels around your cutout, we will bring the too-wide selection in by using the dropdown menu with Select > Modify > Contract. Surprisingly, Colin says that setting at 2 pixels always works for this – I’m sure there are rare situations that call for bringing your border in further, say if your Magic Wand threshold was too low.
Next he shows us something we should always be doing when polishing selections: Select > Modify > Feather. This smooths the selection out, making the edge look less jagged.
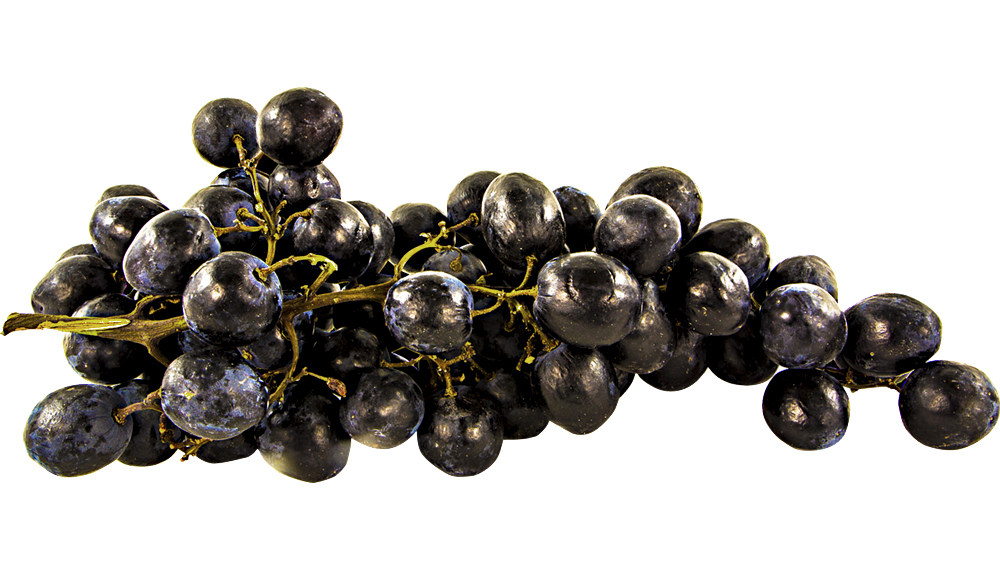
Lead image by Ancelin via Pixabay.
Again Colin takes route of moderation here, feathering at just 1 pixel. My advice is to start low like this, then add more feathering if needed.
Since you’ve been selecting an edge around your subject and not the subject itself, you’ll need to do a Select > Inverse in order to actually pull your subject out of the frame.
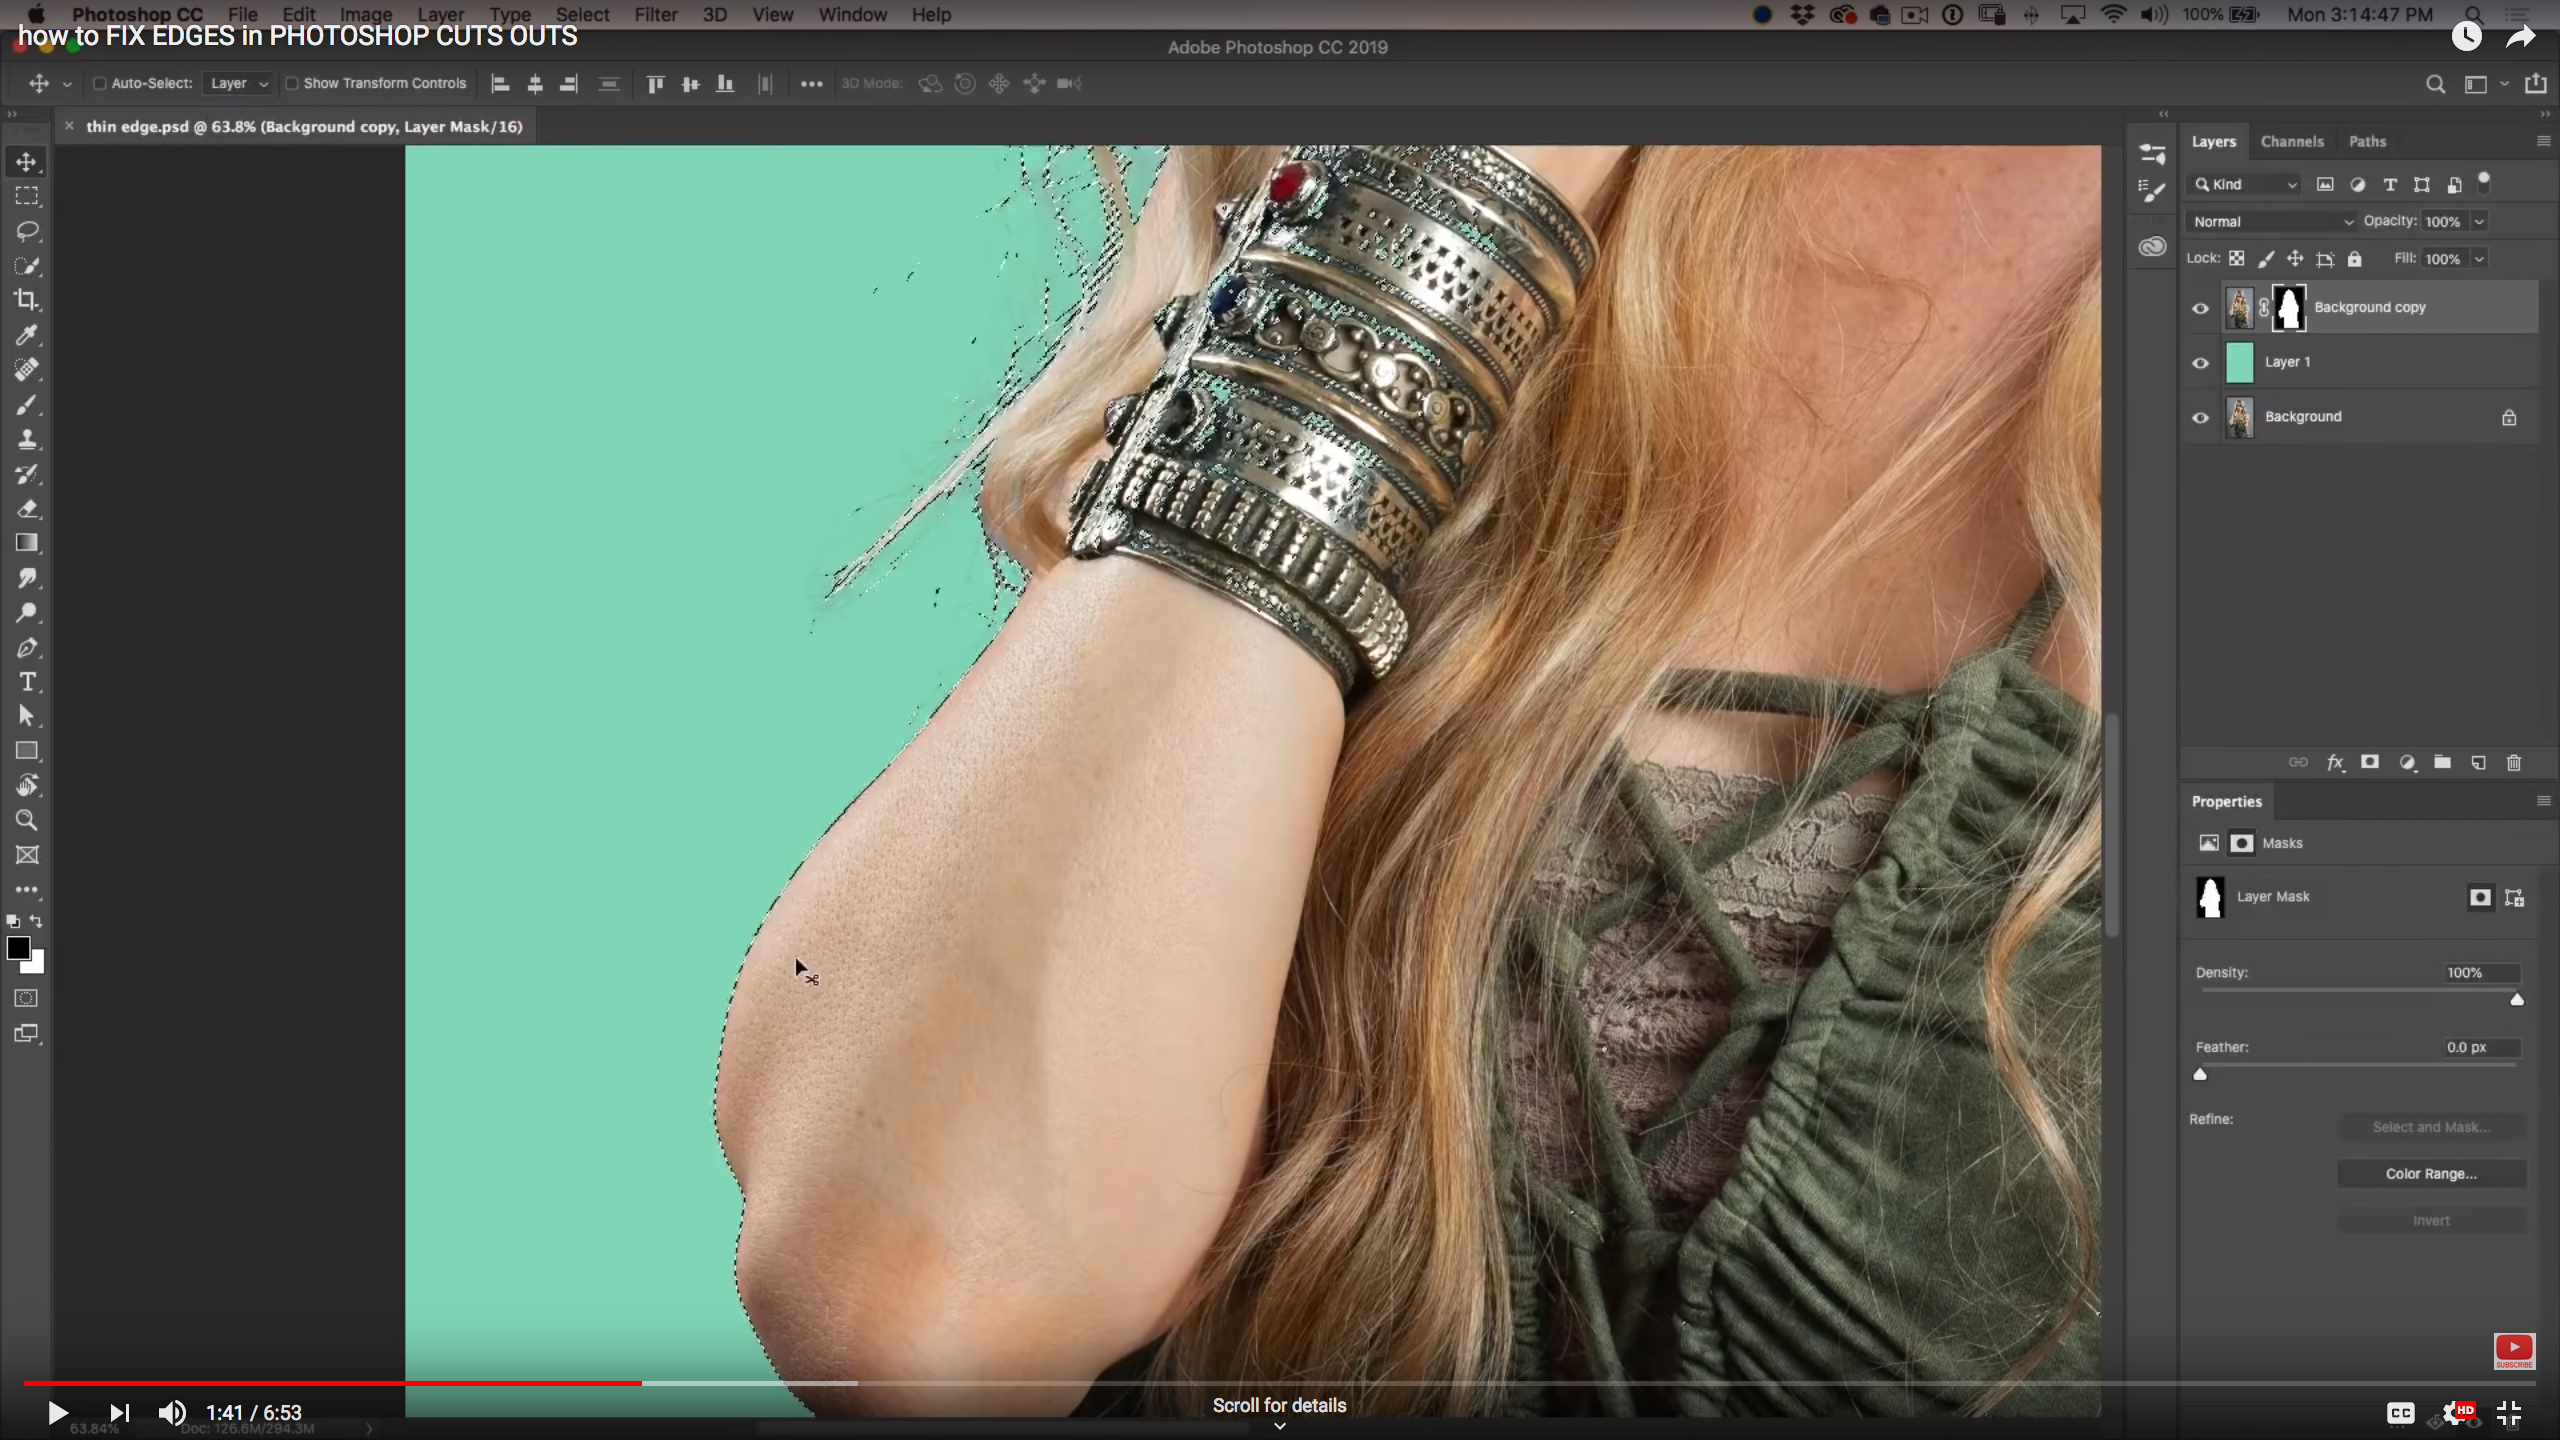
Lastly, you can use your brush to fix any stray border pixels that made it to the cut. Mind you, this technique should always be done on a layer mask.
Creating perfect selections for cutting objects out in Photoshop can be a time-consuming practice and this tutorial just scratches the surface. Share any other tips you have in the comments below.
No Comments